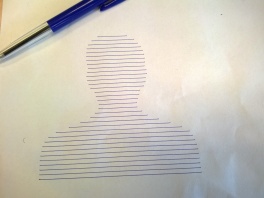
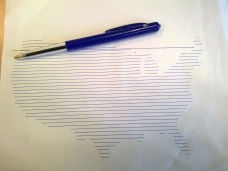
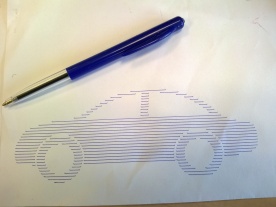
Using a 3D printer/CNC with a pen attached to the moving head, the goal was to draw/generate a line art representation of a photo as shown below. I developed and wrote the code which converts any solid black image to Gcode. The link to the script can be found below.
Step 1: Attach a pen/pencil to the 3D printer.
There are various way you can attach a pen/pencil to your 3D printer, Duct tape, Zip tie or using a custom made pan holder. All you have to ensure is that there is little room for the pen/pencil to move in/retract when it hits the paper, like a shock/spring system. Once attached you have to know the max print area of your 3Dprinter , so as to prevent you from trying to print beyond the X and Y axis limit/max lenght.
Step 2: Photo image.
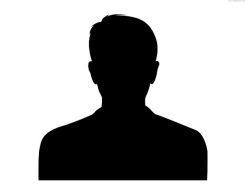
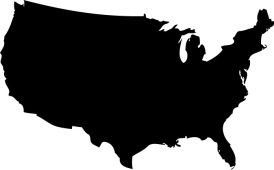
The image type is “jpeg” and has to be a silhouette “solid shape in black color”. Find and image online, or convert your own photos to solid black and white image.
Step 3: Re-size your Image!!
Convert the maximum print area of the 3D printer in to pixels, make sure the image you are about to use is less or equal to this measurement!! if the Image is bigger the the print area you will be moving the printer beyond its limit causing mechanical damage to the 3D printer.
1mm ~ 3.78 pixel
1 pixel ~ 0.26mm
Which means if your 3d printer with the pen attached, can move 200mm in x and y axis, 200mm ~ 755 pixel, your image sive should not be larger than 750 x 750 pixel.
Step 4: Convert Image to Gcode
Head over to image2code and convert the image to Gcode using the following parameters.
Pen lift height: “How high in mm you want the 3D printer to raise when moving from point to point during a non print move”
Line art spacing: “This is the spacing/gap between each generated line also in mm”
Drawing speed: “How fast the 3D printer will move while printing”
Load/transfer the generated Gcode to your printer, put you print material/ paper on the heat bed using the bulldog clips or double sided tape and print/draw.
Note: To avoid hitting the Z axis limit switch, the print height is 2mm!! not Zero. If your pen/pencil floats in the air while printing … adjust it to the right height.
My advice is that you try to run the Gcode with out any pen attached first, see how it move and determine if the speed is ok.


In step three it says “1mm ~ 3.78mm”, I think it’s meant to say “1mm ~ 3.78pixels”.
Thanks Brian you are right!!
Hi Emmanuel,
I’m trying draw a grayscale picture (like sketch, not solid black) with 3D printer.
I need a command line tool or script (like python) in linux to convert gray/color picture to gcode.
Do you have some advice to do this ?
Thanks a lot.